Pontesford Llanymynech Pandy Outcrop Trevor Area
Dinbren Monk's Buttress
Pinfold Twilight Area
Craig Arthur
World's End Minera Quarry Pot Hole Quarry Maeshafn Devil's Gorge Ruthin Area
5
Dead Man's Creek.
1
tsΩ
6c
A good pitch. Pull up and left to access the line of tiny corners.
Follow these and the face above to the lower-off.
FA. Gary Gibson 5.5.1984
6
Punch and Judy.
2
tfpΩ
E5 6b
Fantastic technical climbing up the grey wall. Well protected with
good wires and solid fixed protection. Pull powerfully around
the lower bulge (bolt) to reach a thread. Move up and leftwards
on tiny holds, passing a second bolt, and continue direct to a
vague break and peg. Rock onto the break then tiptoe rightwards
to a third bolt. Blind moves past this gain good holds and gear.
Continue up easier ground to reach a shallow scoop and a final
bolt, then move left above this with a long reach to the upper
break (peg) and the lower-off.
FA. Gary Gibson 1.5.1984. FA. (Direct start and finish) Lee Proctor
12.9.2004, after the original start collapsed.
7
Full Mental Jacket.
2
tfΩ
E5 6c
A variation on
Punch and Judy
that is more technical but less
sustained. Start up the first few moves of
Survival of the Fastest,
then move left to reach an undercut hold. A technical sequence
(peg) leads to a line of horizontal pockets in the vague break
and a hidden bolt. Rock precariously upwards to join
Punch and
Judy
at its third bolt. Finish up this to the lower-off.
FA. John Moulding, John Codling 3.7.1988
8
Survival of the Fastest.
4
sΩ
E5 6a
An awesome pitch tackling the thin crack and flake-line
bounding the left side of the Nemesis Wall. Extremely sustained
and varied climbing throughout. One of the original protection
pegs is no longer in place and the pitch is now more strenuous
because it's difficult to arrange alternative nut protection. Pull
up to the base of the line and follow the crack steeply to where it
curves and fades. A thin traverse left past a bolt eventually gains
easier ground. The right-slanting crack above is still tricky.
Photo on page 31
.
FA. Stuart Cathcart 10.5.1978
9
Protect and Survive.
3
tsΩ
E6 6b
A good way up this section of the crag. The route makes a
diagonal link from the initial section of
Survival of the Fastest
to
the difficult upper bulges of
Survival of the Fattest
.
FA. John Moulding 8.2004
0
Survival of the Fattest.
1
tsΩ
E5 6b
Climb up through low-level overlaps to a small corner. Continue
up the wall and flakes above, on reasonable holds, to a bulge
high on the wall. Difficult moves through this, and then left to
break through the overlap above, gain a crack to finish.
FA. John Codling 1984
q
Revival of the Latest.
1
ftΩ
7a+
A short desperate wall pitch with a hard lower section and a
fingery and technical upper section.
FA. Gary Gibson 25.6.2009
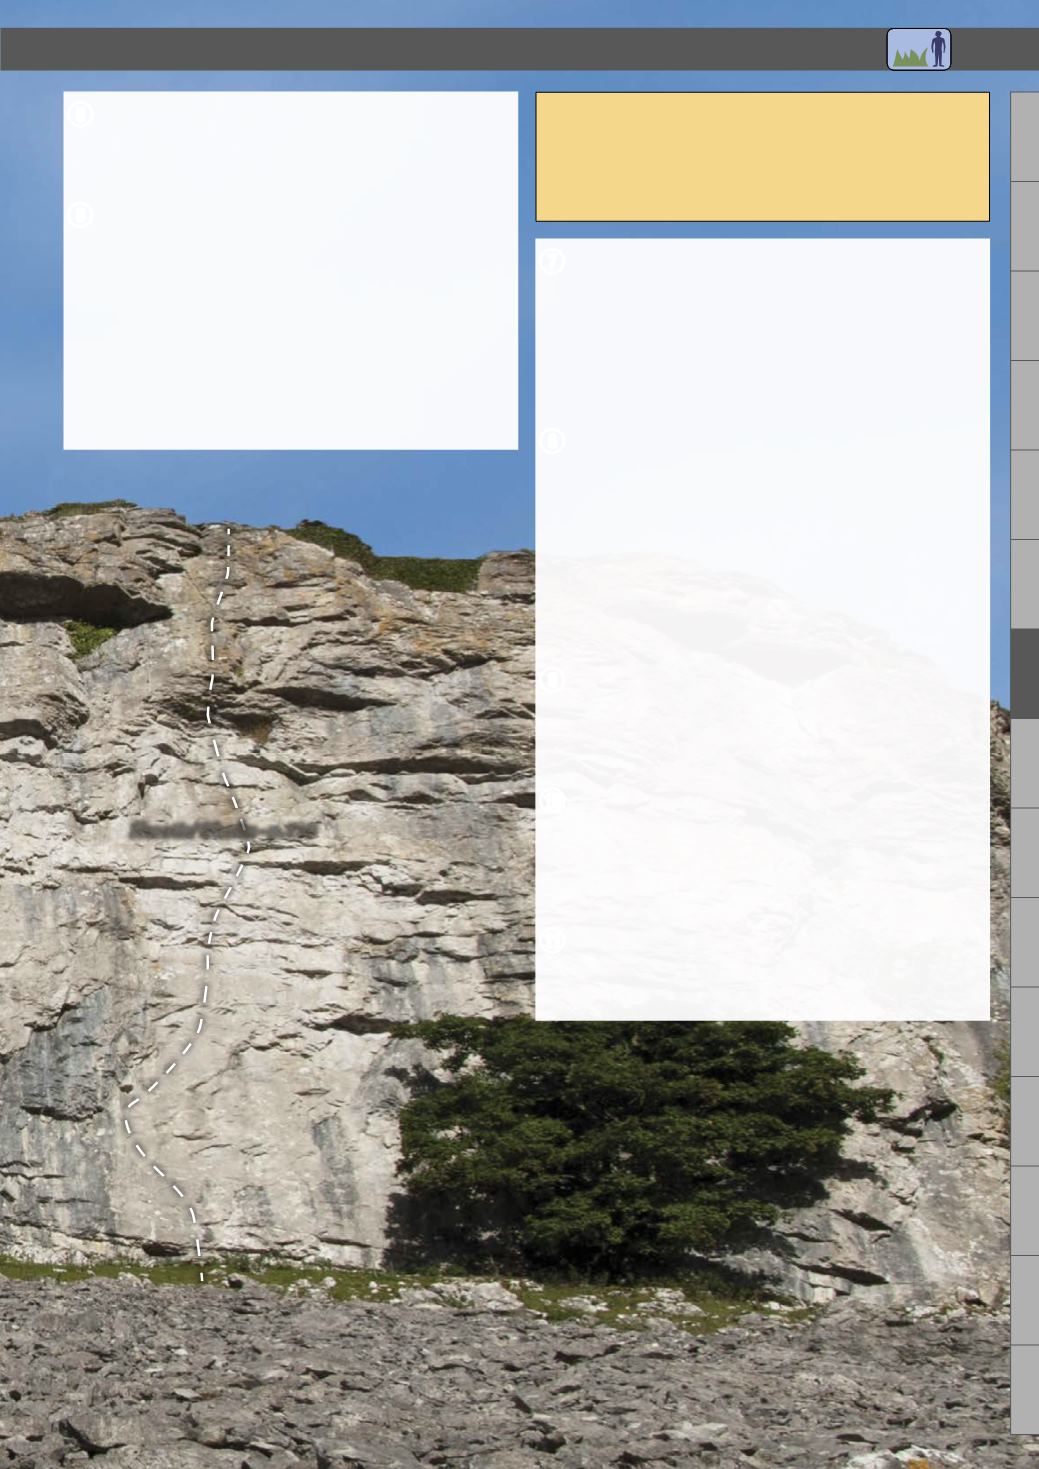
107
Survival Area
Craig Arthur
Survival Area
A fine wall of clean and featureless rock save for the
subtle crack-line of
Survival of the Fastest
. There is a
good deal of fixed gear on the routes here.
a
Access -
There no climbing restriction due to nesting
birds may include this buttress - see page 96
Shootin' Blanks - p.110


